

Effortless Setup: How to Install Your Christmas Inflatables for a Dazzling Display
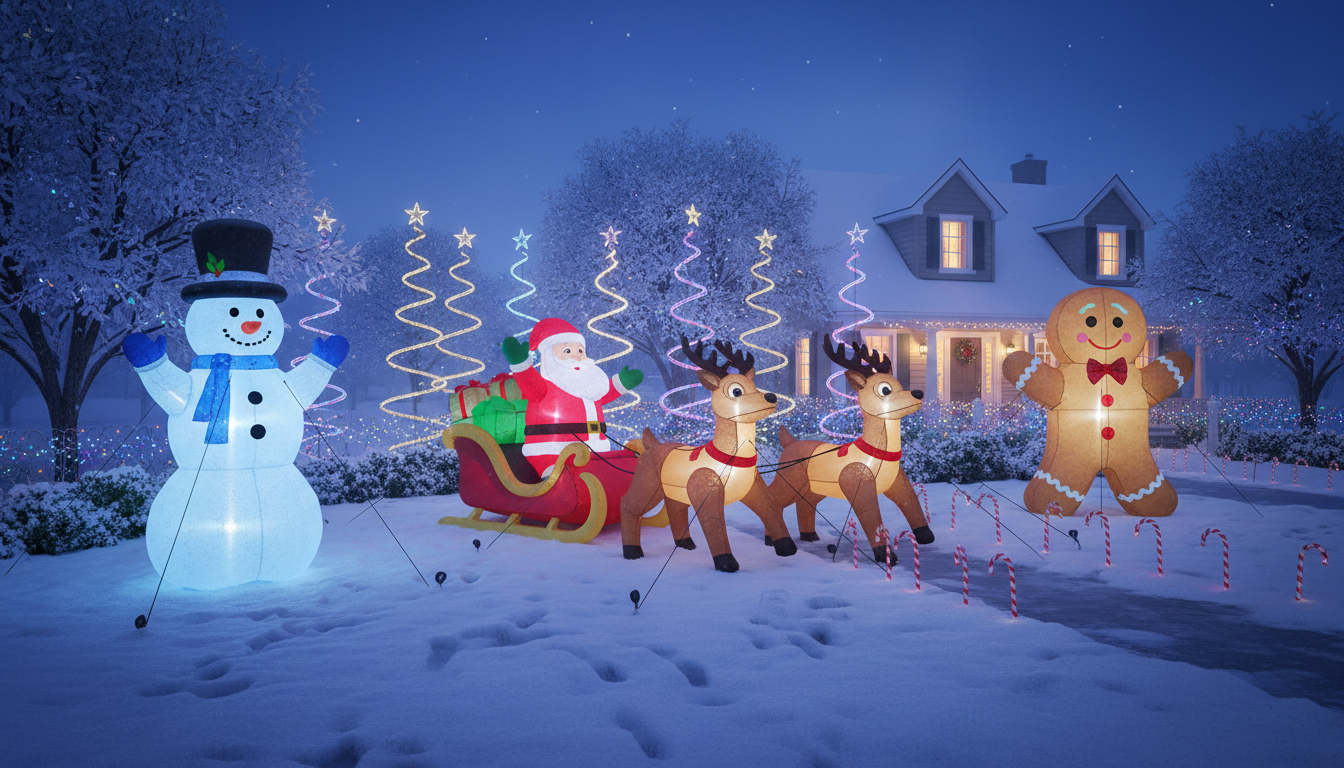
The holiday season brings with it a delightful tradition of decking out our homes with festive cheer, and few decorations capture the spirit quite like inflatable Christmas characters. But before your giant Santa or cheerful snowman can stand tall and proud, a proper installation is key. This guide will walk you through pro tips for a quick and secure setup of your outdoor Christmas yard inflatables. From proper anchoring to crucial power considerations, we'll ensure your holiday display stands tall, bright, and resilient all season long, bringing joy to all who see it.
1. Strategic Planning: Choosing the Perfect Spot for Your Festive Inflatables
Before you even unbox, consider where your inflatables will make the biggest impact. Look for a flat, open area with good visibility from the street, ensuring it’s not obstructed by trees or shrubs. Proximity to a power source is crucial for easy hook-up, but safety always comes first. Avoid placing inflatables directly under power lines or in areas prone to excessive water accumulation.
Think about the elements: high winds can be an inflatable's worst enemy, so choose a somewhat sheltered spot if possible. Also, consider the ground stability for anchoring. Soft, muddy ground won't hold stakes as effectively as firm soil.
2. Essential Tools and Pre-Installation Preparations
Gathering your supplies beforehand will make the installation process much smoother. You'll likely need: outdoor-rated extension cords, a ground fault circuit interrupter (GFCI) adapter if your outdoor outlets aren't already protected, additional stakes or tie-downs (often the ones provided are minimal), a hammer or mallet, a ground tarp (optional, but good for protection), and possibly sandbags or water weights for extra stability.
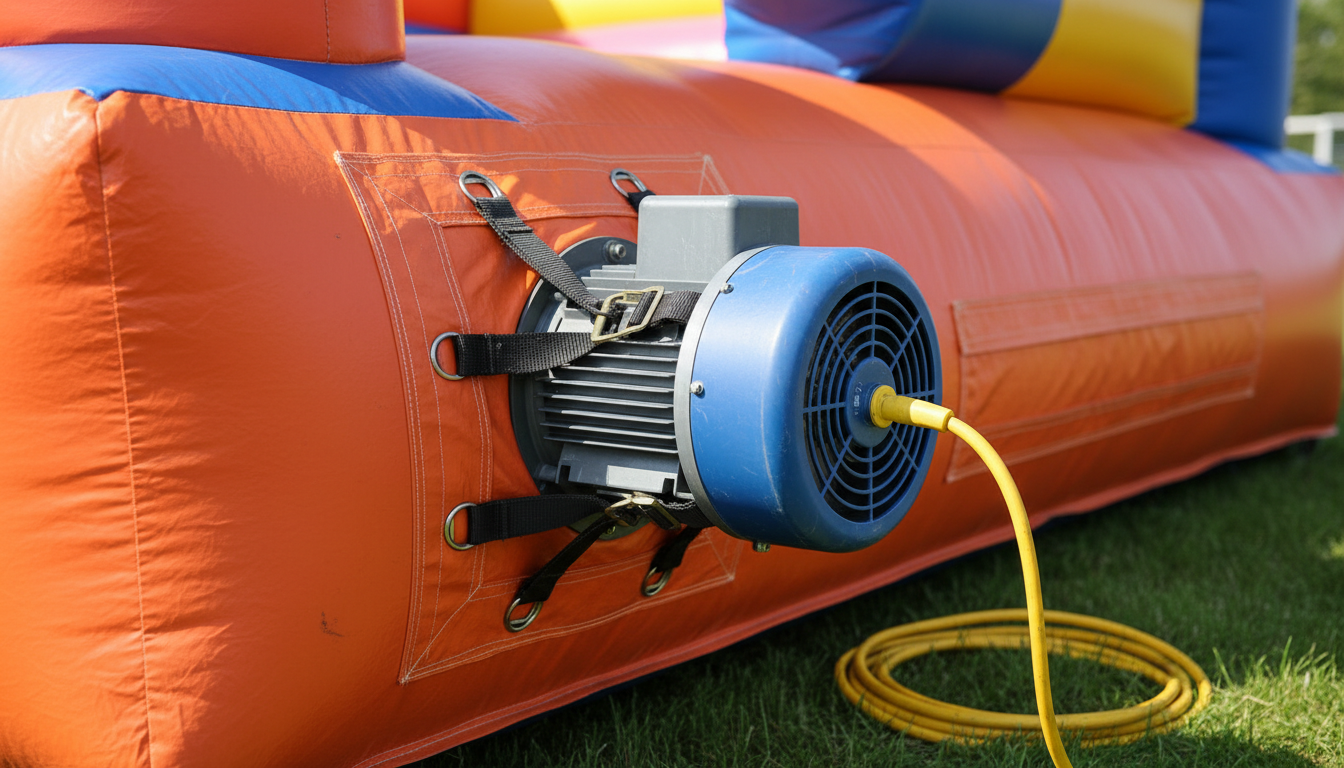
Once you have your tools, carefully unbox your inflatable. Lay it out flat on the chosen spot and take a moment to inspect it for any tears or damage from shipping. Locate the fan motor, internal lights, and all attachment points for stakes and tethers. This initial inspection can save you headaches later.
3. Step-by-Step Installation Guide: Bringing Your Characters to Life
a. Laying Out Your Inflatable
Position the deflated inflatable exactly where you want it to stand. Ensure the fan intake is clear of obstructions and facing away from any potential snow or debris build-up. If using a ground tarp, place it underneath to protect the inflatable from moisture and sharp objects.
b. Connecting to Power
Connect the inflatable's power cord to your outdoor-rated extension cord, ensuring the connection is secure and protected from moisture (a waterproof cover can help). Plug the extension cord into a GFCI-protected outdoor outlet. Do not power up yet.
c. Inflating for the First Time
Now, turn on the power. Watch as your inflatable slowly comes to life! As it inflates, gently guide any stuck limbs or features to help it achieve its full shape. Once fully inflated, quickly adjust its final position if needed before anchoring.
d. Securing for Success: Anchoring Techniques
This is arguably the most critical step to prevent your festive friend from flying away. Most inflatables come with basic plastic stakes and thin ropes. For North American weather conditions, we recommend upgrading to heavier-duty metal stakes and stronger nylon tethers.
Attach the tethers to the designated loops on the inflatable, usually found at various points along its body. Angle the stakes into the ground at about a 45-degree angle, pulling the tethers taut but not so tight that they distort the inflatable's shape. Use all available attachment points. For very large inflatables or areas prone to high winds, consider adding sandbags or water weights inside the base for extra ground stability.
4. Powering Your Display Safely: Electrical Considerations
Safety should always be paramount when dealing with outdoor electrical setups. Always use outdoor-rated extension cords (marked 'W' for weather resistant) and ensure they are free from damage. Plug all outdoor decorations into GFCI-protected outlets. If you don't have one, use a portable GFCI adapter. Consider using an outdoor timer to automatically switch your inflatables on and off, saving energy and extending their lifespan.
Avoid overloading circuits by distributing your decorations across different outlets if possible. Keep all connections elevated off the ground and protected from rain and snow using weatherproof covers or enclosures.
5. Maintenance and Troubleshooting for a Season of Cheer
Even with proper installation, a little maintenance goes a long way. Regularly check your inflatables for small tears or holes, which can be easily patched with repair kits. Ensure the fan motor is clear of debris (leaves, snow) and running smoothly. If your inflatable isn't staying fully inflated, check for leaks, ensure the zipper is fully closed, and that the fan intake isn't blocked.
In heavy snow, gently brush accumulated snow off the inflatable to prevent it from weighing down and causing damage. During extreme weather events (heavy storms, high winds), it's often best to deflate your inflatables and secure them until conditions improve.
6. Elevate Your Display: Creative Tips & AI Tools
Once your inflatables are securely installed, think about how to make your entire yard display truly shine. Grouping inflatables together can create a more cohesive scene. Add complementary string lights, spotlights, or other static decorations to enhance the overall ambiance. Don't be afraid to experiment with different placements and accessories.
Want to visualize how a new giant inflatable Santa or a playful gingerbread house would look alongside your existing decorations, or even envision a completely new holiday theme for your outdoor space? Ideal House offers innovative AI tools to help. You can upload a photo of your home and virtually experiment with different holiday decor styles and placements with our Home Decor Ideas. Or, for a broader look at your home's festive potential, our Exterior Renovator can help you imagine grander holiday makeovers, ensuring your entire exterior perfectly captures the spirit of the season.
7. Seasonal Storage for Longevity
When the holidays are over, proper storage is key to ensuring your inflatables last for years. Deflate them completely, making sure no air is trapped. Clean off any dirt or debris with a damp cloth and allow them to air dry thoroughly to prevent mold or mildew. Fold them neatly and store them in their original box or a plastic storage bin in a cool, dry place away from pests.
Light Up Your Holidays with Confidence
Installing Christmas inflatables doesn't have to be a daunting task. By following these pro tips for strategic placement, proper anchoring, safe electrical practices, and regular maintenance, you can ensure your festive display stands tall, vibrant, and secure throughout the holiday season. Embrace the joy they bring and make your home a beacon of holiday cheer for all to enjoy, year after year.